Okay, so remember when I put on a U-part wig for the first time and literally cried because my edges finally got to breathe? Girl, that was the moment I realized not everything needs to be a full install. This body wave U-part wig has become my go-to for protective styling that still lets me show off my natural hairline. Not gonna lie, after three years of wearing them professionally and personally, this is the texture that just works with everything.
Specifications
| Feature | Details |
|---|---|
| Hair | Natural 1B Human Hair |
| Hair Grade | Virgin Hair |
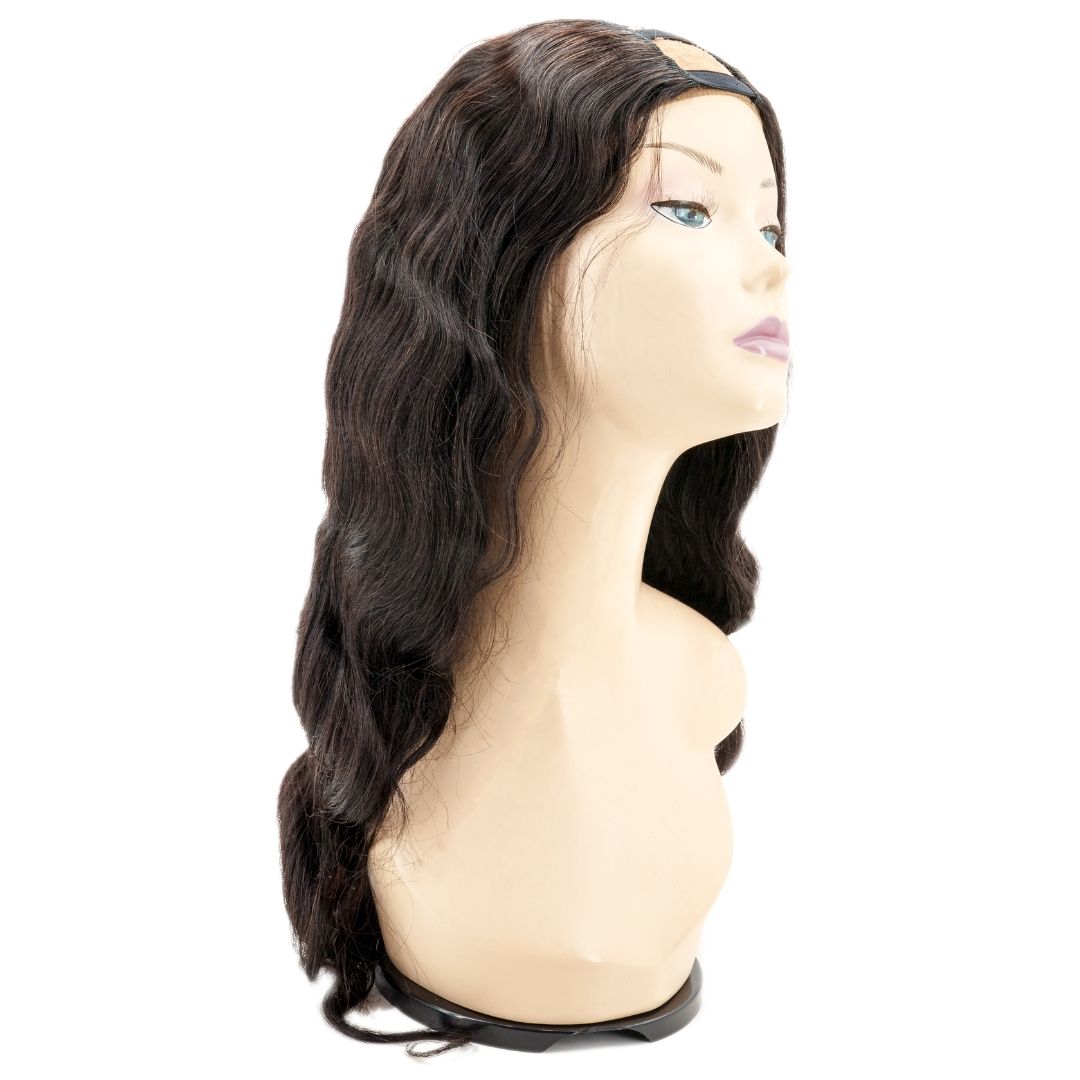
| Style | Body Wave |
| Wig Type | U-Part |
| Density | 130% |
| Coloring | Can lift to #27 |
| Length | 10"- 22" |
What Makes This U-Part Different
Real talk: I've tried those synthetic U-parts that look great for exactly one week before they turn into a tangled mess. This virgin hair though? Completely different story. The body wave pattern is that perfect S-shape that actually holds up through washing and styling. When I first started doing hair professionally, we'd use this exact texture for quick weave installs because it blends so naturally with relaxed or blown-out hair.
Not gonna lie, the 130% density is exactly where you want to be with a U-part. Heavy enough to give you that full look but not so thick that you're fighting with your leave-out trying to match it. Back when I was learning installations, my instructor always said "match the density to the client's hair," and honestly? Most of us aren't walking around with 180% density natural hair. This 130% hits that sweet spot where it looks full but believable.
The fact that this can lift to a #27 honey blonde is honestly what sold me. I've taken mine to a nice chocolate brown (took it slow, used 20 volume, watched it like a hawk), and the hair took the color beautifully. No weird orange tones, no fried ends. Just smooth color that actually looked expensive.
The Technical Details You Actually Need
Here's the thing about U-part wigs: they're basically the training wheels of the wig world, and I mean that in the best way. You get to keep your edges, use your own part, and there's literally no lace to worry about. This virgin hair comes in that natural 1B that matches pretty much everyone before they start playing with color.
You're looking at installation time of maybe 10 minutes once you get the hang of it. The combs sit right where they need to, the tracks are sewn tight (no random shedding all over your bathroom), and because it's virgin hair, you can flat iron those waves out or enhance them with a wand. I usually wear mine straight during the week and then hit it with my 1.25" barrel for weekend vibes.
The 10" to 22" length options mean you can go subtle or dramatic. Personally? That 18" is my sweet spot. Long enough to feel luxurious but not so long you're catching it in car doors.
Bottom Line
Girl, if you've been wanting to try wigs but feel intimidated by lace fronts and all that gluing, this U-part is literally your perfect starting point. Virgin hair quality means it'll last through multiple installs, the body wave texture is universally flattering, and that 130% density looks full without looking wiggy. Your edges get to live, your install time is under 15 minutes, and you can switch up your look without the commitment. Sometimes the simplest solution really is the best one.