Okay, so remember when I spent THREE HOURS trying to blend my straight leave-out with kinky curly bundles? Girl, the amount of gel and edge control I went through trying to make that work... Not to mention the heat damage from constantly flat ironing my edges to match. That's exactly why I'm so excited about this U-part wig. You leave out your own hair, clip this baby in, and boom. Perfect blend in literally five minutes.
Specifications
| Feature | Details |
|---|---|
| Hair | Natural 1B Human Hair |
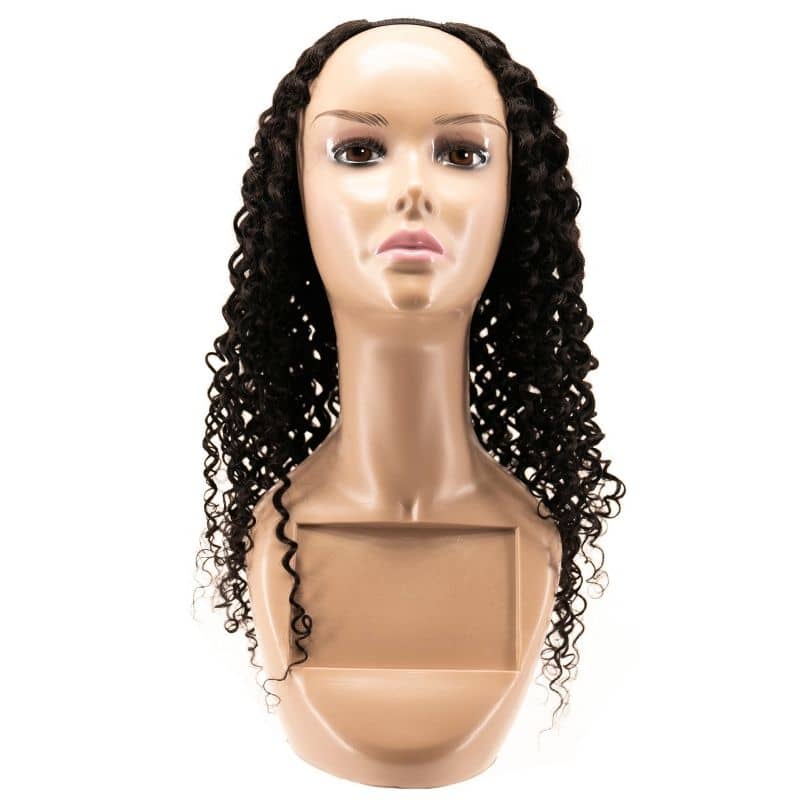
| Style | Kinky Curly |
| Wig Type | U-Part |
| Density | 130% |
| Coloring | Can lift to #27 |
| Length | 10"- 22" |
| Hair Grade | Virgin Hair |
What Makes This Special
Not gonna lie, when I first tried U-part wigs, I was skeptical. How was leaving my hair out gonna look more natural than a lace front? But here's the thing - it's YOUR actual hairline showing. No lace to worry about melting, no glue getting crusty after two weeks, no trying to match your skin tone to the lace. Just your real edges doing their thing while this gorgeous kinky curly texture gives you all the volume and definition you want.
This particular unit hits different because it's virgin hair with 130% density. That sweet spot where you get fullness without it being too heavy or looking wiggy. The kinky curly pattern matches 3B to 4A textures perfectly. I've worn this on wash days when my natural hair is popping, and literally nobody could tell where my hair ended and the wig started.
Here's what really sold me though. This hair can lift to a #27 honey blonde. So if you're feeling that color transformation but don't want to damage your leave-out, you can dye just the wig and keep your edges healthy. Back when I was doing hair professionally, we'd charge crazy money for custom colored units like this. Now you can do it yourself at home.
The Real Details
Here's the thing about U-part wigs that nobody really explains. You need maybe an inch or two of leave-out around your part and edges. That's it. The rest of your hair can be braided down flat or in a low bun. Installation is stupid easy. You've got combs on the inside that slide right into your braids, plus clips for extra security. No special skills needed, no watching fifteen YouTube tutorials.
The 10 to 22 inch length options mean you can go subtle or dramatic. Personally, I rock the 16-inch for everyday wear. Long enough to have some swang but not so long that I'm getting it caught in car doors. And because it's natural 1B color, it matches most of our hair without any extra work.
Maintenance? Way easier than you'd think. Cowash it once a week, deep condition every two weeks, and keep it moisturized just like your own hair. Since there's no lace or glue, you can take it off every night if you want. Your scalp can breathe, your edges stay intact, and the wig lasts way longer because it's not dealing with product buildup from daily wear.
Girl, Just Try It
If you've been wanting the volume and versatility of a wig but scared of the whole lace front commitment, this is your sign. Virgin hair quality, perfect kinky curly texture, and that U-part construction that keeps everything looking natural. Your edges will thank you, your mornings will be easier, and you'll finally have that big hair energy without the damage.