The Real Deal About U-Parts
Okay, so remember when I spent serious money on a lace front and STILL couldn't get that hairline to melt? Girl, that's exactly why I'm telling you about U-part wigs. This Brazilian straight U-part literally changed how I think about protective styling. Not gonna lie, the first time I installed one, I was shocked at how natural it looked with just my leave-out covering the tracks.
Specifications
| Feature | Details |
|---|---|
| Hair Type | Natural 1B Human Hair |
| Hair Grade | Virgin Hair |
| Style | Silky Straight |
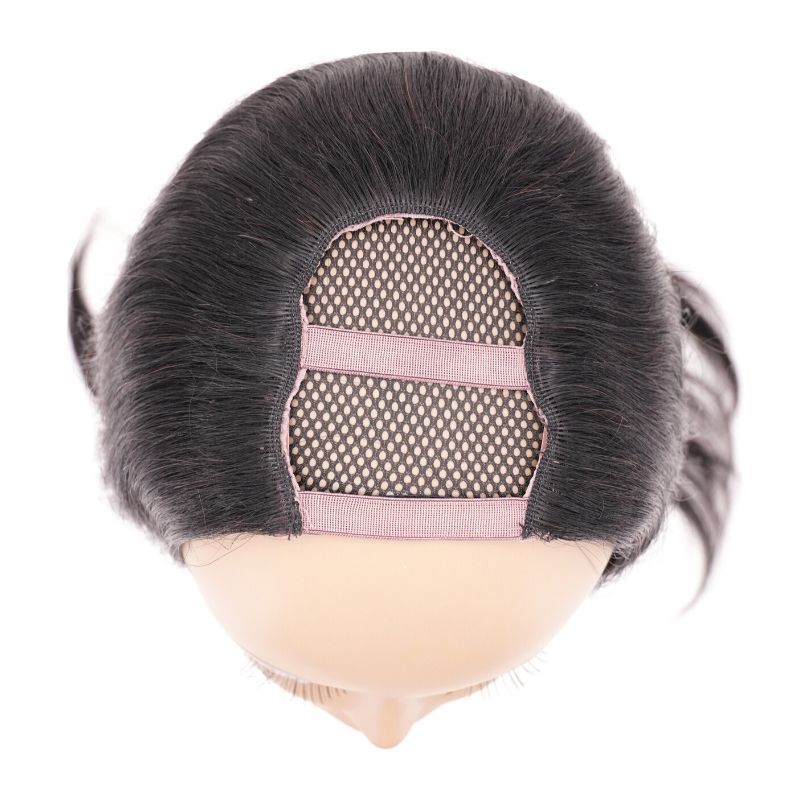
| Wig Type | U-Part |
| Density | 130% |
| Coloring | Can lift to #27 |
| Length Options | 10"- 22" |
Why This U-Part Hits Different
Here's the thing about U-parts that nobody really explains properly. You're using YOUR actual hairline and YOUR actual part, so there's literally nothing to blend or melt or pray looks right in different lighting. The modified half-wig design has this U-shaped opening at the top that lets your natural hair do all the heavy lifting where it matters most.
This virgin hair though? It's the silky straight texture that actually matches relaxed hair or naturally straight textures perfectly. And since it's 100% virgin, you can heat style it, curl the ends for a flip, or keep it bone straight. The 130% density gives you that full look without being so thick that your leave-out can't blend. I've worn mine to work meetings where people complimented my "blowout" and had no idea.
What really sold me was discovering these can lift to a #27 honey blonde. So if you're one of those people who wants to try color but doesn't want to damage your actual hair? This is your answer. Get it colored professionally and boom, you're a blonde without the commitment or damage.
The Technical Stuff That Actually Matters
Real talk, installation takes maybe 15 minutes once you get the hang of it. You're literally just braiding down the perimeter of your hair, leaving out that U-shaped section at the top, and clipping this bad boy in. No glue, no gel, no sitting under a dryer hoping everything dries invisible.
The tracks on these are sewn onto clips and combs that actually hold without giving you a headache by noon. And since it's virgin hair, you can wash and condition it just like your own hair. I deep condition mine every two weeks and it still moves like silk after six months of wear.
Pro tip from my salon days: blend your leave-out by wrapping it around a flexi rod with the wig hair while you sleep. Wake up, unroll, and everything flows together like it grew from the same scalp.
Girl, Just Try It
If you've been intimidated by lace fronts or tired of sew-ins that take hours to install, this U-part is literally your gateway to easy protective styling. Quality virgin hair that blends seamlessly, no adhesive drama, and you can switch it up whenever you want. Your edges will thank you, and honestly? So will your schedule.