The Real Talk About This Wig
Okay, so you know that moment when you're staring at your reflection after installing a new wig and you literally forget it's not your real hair? That's exactly what happened to me with this straight 13x4 lace front. I was doing my usual lace cutting routine (you know, the one where you hold your breath and pray you don't cut too much), and when I finished... Girl, the hairline was so natural I actually tried to scratch my scalp through the lace. Not my brightest moment, but honestly? That's how good this transparent lace is.
Specifications
| Feature | Details |
|---|---|
| Hair Type | 100% Virgin Human Hair |
| Color | Natural 1B |
| Lace Type | 13x4 Transparent Lace Front |
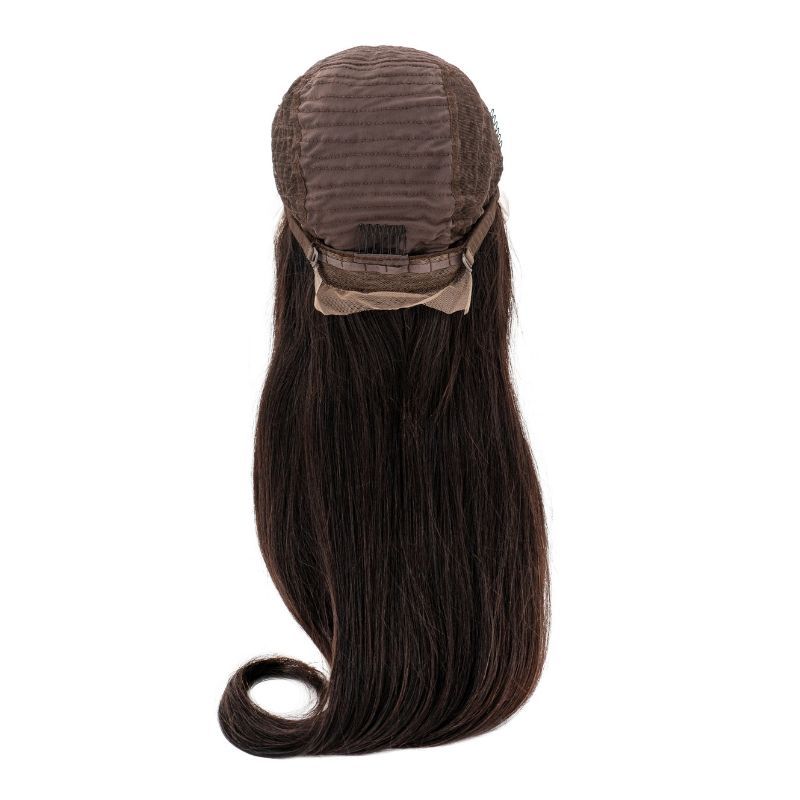
| Cap Size | Medium (22.5" circumference) |
| Front to Nape | 14.5" |
| Density | 130% |
| Texture | Silky Straight |
| Lengths Available | 10" - 30" |
What Makes This My Go-To Straight Wig
Not gonna lie, I've been through my share of straight wigs. The ones with lace so thick you could see it from space, the ones that tangled if you looked at them wrong, and don't even get me started on that one wig where the hairline was so harsh I looked like I had a doll's hairline. But this one? Different story completely.
The 13x4 parting space gives you actual freedom. You want a deep side part for that sophisticated work look? Done. Middle part for that sleek Instagram vibe? Easy. I even pulled mine into a half-up style last week and nobody questioned whether it was my real hair. The transparent lace literally melts into your skin tone. I used to spend forever trying to tint my lace with foundation (messy and never quite right), but with this transparent lace, I just cut, lay it down, and go.
Here's what really sold me though. The hair quality. This virgin hair feels exactly like the expensive installs I used to get done professionally. You know that silky feeling when you run your fingers through freshly flat-ironed hair? That's this wig straight from the package. And because it's 100% virgin human hair, you can heat style it without that weird synthetic smell or worrying about melting. I've curled mine, straightened it back out, even did beach waves for a wedding. The hair bounced right back to silky straight after washing.
The Technical Details That Actually Matter
Here's the thing about density that nobody really explains properly. This 130% density is that sweet spot where it looks full and healthy but not like you're wearing a helmet. Some wigs come with 180% density and honestly? Unless you naturally have super thick hair, it looks obvious. This 130% moves naturally, doesn't feel heavy after a few hours, and photographs beautifully without that wiggy shine.
The medium cap size fits most people (my head is average and it's perfect), but what I really appreciate is the 22.5" circumference actually has some give to it. You can adjust it slightly tighter if needed. The front to nape measurement at 14.5" means it covers properly without that weird gap some wigs have at the neck.
About the lengths... I got the 20" because I wanted that dramatic length without it being unmanageable. But here's my honest advice: if you're new to wigs, start with 14" or 16". Longer lengths need more maintenance to prevent tangling, especially if you're wearing it daily. You can always go longer once you get comfortable with the care routine.
Girl, Just Get It
If you've been searching for a straight wig that actually looks like it could be growing from your scalp, this is it. Quality virgin hair that handles heat styling, transparent lace that works with any skin tone, and that perfect density that moves like real hair. Whether you're covering up a bad haircut, switching up your style, or just want to wake up with perfect hair... this wig delivers.
Your morning routine is about to get so much easier. Trust me on this one.