Locks of Hair
Human Hair Wig - Body Wave 13x4 Transparent Lace Front Wig - Natural Black (1B)
Human Hair Wig - Body Wave 13x4 Transparent Lace Front Wig - Natural Black (1B)
Couldn't load pickup availability
Two Density Options Serve Different Wearing Contexts
130% gives you that understated, "could be my real hair" look for everyday professional settings. 180% builds the full, bouncy volume suited for events and evening wear. It's a choice within a single product that most wig constructions force you to make across separate purchases.
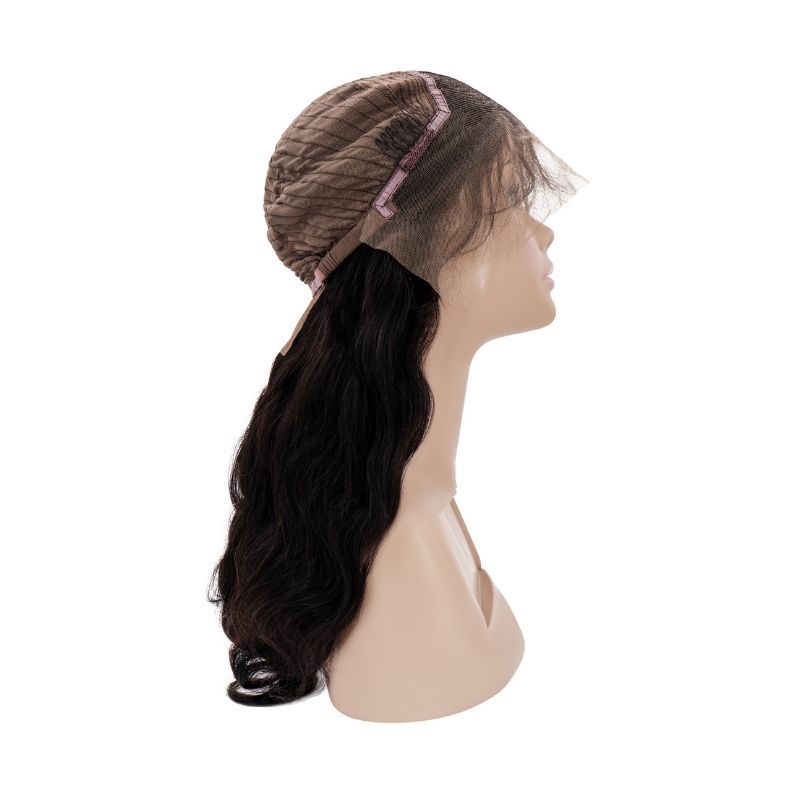
Transparent Lace Adapts Without Pre-Install Prep
The colorless front base takes on whatever skin undertone it touches, eliminating the tinting, tea-soaking, or concealer-matching step. The wig goes from package to scalp with minimal downtime.
Body Wave Pattern Transitions Between Straight and Curly
A flat iron temporarily overrides the S-pattern for a sleek look, a curling wand tightens it for more definition, and the original body wave comes right back after the next wash. That versatility is something straight or curly-specific wigs just can't match without permanent alteration.
13x4 Frontal Covers the Entire Hairline
Ear-to-ear lace with four inches of parting depth supports any division angle, pulled-back ponytails, and half-up styles without revealing the cap edge at the temple perimeter.
10- to 30-Inch Length Range Spans Bob to Waist-Length
The broadest length selection lets you choose a conservative shoulder-length cut for work or a dramatic cascade for events. All within the same product line and hair quality.
Medium Cap With Measured Fit Dimensions
A 22.5-inch circumference with 14.5-inch front-to-nape measurement fits the average head size, and adjustable internal straps fine-tune the fit without pins or adhesive. Secure enough for daily wear without tension headaches.
Virgin Hair Accepts Color Up to Shade 27
Intact melanin and unbroken keratin chains lift evenly to honey blonde. Highlights, balayage, or an all-over warm shift are all possible without the mid-shaft breakage pre-processed wigs risk under the same developer volume.
| Feature | Details |
|---|---|
| Hair Type | Natural 1B Virgin Human Hair |
| Style | Body Wave |
| Wig Type | Front Lace |
| Lace Material | Transparent Lace |
| Lengths Available | 10"-30" |
| Density Options | 130% & 180% |
| Size | Medium |
| Circumference | 22.5" |
| Front to Nape | 14.5" |
Transparent lace sits in the sweet spot between invisibility and longevity. It's thicker than HD lace, so it holds up better through repeated installs, adhesive removal, and daily wear, while still blending well against most skin tones with minimal tinting. You do not have to baby it.
Built to Be Reinstalled
Where HD lace is a one-and-done kind of delicate, transparent lace tolerates the cycle of glue-down, wear, remove, clean, repeat. The HD versus transparent lace comparison lays out the durability tradeoffs in detail if you are weighing both options side by side. If you rotate wigs weekly or reinstall every two weeks, that durability matters more than the marginal difference in invisibility. The transparent lace disappears under foundation or lace tint spray with about sixty seconds of effort. For anyone choosing between this and the HD version, the question is simple: do you prioritize the most invisible lace possible, or lace that stays intact longer?
Two Density Options for Different Looks
The 130% gives a natural, my-own-hair kind of movement, the density that looks most believable for everyday errands-to-office wear. The 180% adds volume and drama. Thicker ponytails, more bounce when you walk, more presence in photos. If you want to understand how density percentages translate to visual fullness and comfort across wig types, the density chart helps you calibrate expectations before committing to either option.
Share